Generally, it should be pretty easy for you to start up the lawnmower. And you always expect the startup of your mowing machinery to go off without a hitch. But what happens when it doesn’t?
How do you start or prime your lawnmower if it isn’t priming as it should?
First, you shouldn’t freak out and start thinking that you just lost all your hard-earned money because whether you like it or not, your seemingly perfect mower isn’t really perfect, and everyone else with a lawnmower has possibly gone through the same.
And though it’s one of those things that will happen occasionally, it’s an issue that’s reported often, especially after the mower sits dormant for some time.
What this means is that if you are trying to start your mower after being out of use for the entire winter season, you can expect some priming issues. And though you are losing your mind right about now, you really shouldn’t because there is a way around it all. There always is, and we’ll help you figure it all out.
But first, let’s look at some of the basics and the reason why your lawnmower won’t start without the primer bulb.
Table of Contents
How Does a Lawnmower Work?

The engine of the lawnmower is one of the most straightforward engines around, and its operation is quite simple compared to the car engines – the overall function/ operation is pretty much the same.
The lawnmower’s engine could be a single-cylinder engine or a 4-cycle (4-stroke) engine running on gas/ gasoline, which is also formally called motor spirit.
The four-stroke engines are often regarded as the best because the engine features 4 unique cycles that the engine will go through in every process before the whole 4-cycle process is repeated.
We’ll look at these four phases below. In the first step of the 4-cycle process, the engine fuel will flow from the fuel tank into the carburetor where the fuel will mix with the fine gasoline mix, forming a rather explosive mixture. Below, we breakdown all the details of the 4-cycle engine system.
Intake/ 1st Stroke – here, the intake valve will open, and the gasoline mixture gets sucked right into the hollow cylinder at the engine block.
Compression/ 2nd Stroke – The intake valves will close then the fuel-gasoline mixture will be compressed.
Power/ 3rd Stroke – The compressed mixture will be ignited by a light spark, and then this mixture is burned, generating power. The burning causes a rather rapid increase in the temperature within the engine, creating a pressure difference. The pressure will force the piston down into the engine cylinder, rotating the crankshaft, turning the blade in the process.
Exhaust/ 4th Stroke – In the last cycle, the exhaust valves will open up, expelling the burned gases from the engine cylinders.
This 4-stroke process will be repeated at high speeds, about 20X/ second when the engine is running at full throttle. To ensure the consistent cutting of the grass, the connection between the engine’s piston and the crankshaft is via the connecting rod. Since the sharpened blade will be bolted on one end of the crankshaft, it will be rotating at very high speeds of up to 3000RPM, hence perfect cuts.
About the Carburetor
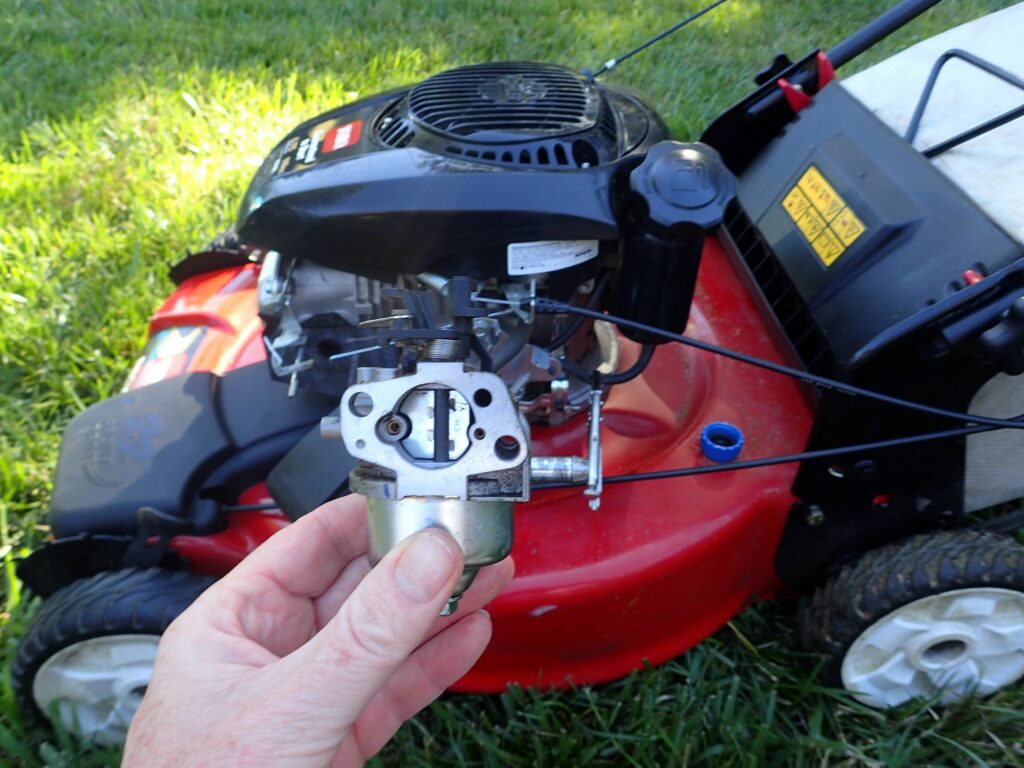
The carburetor is pretty much the heart of the mower’s ignition system.
The fuel must flow down to the carburetor, and as mentioned above, the primary role of the carburetor is the creation of the explosive mist of gasoline and air, a mixture that gets sucked into the engine where it’s burned to power up the mower. A primer bulb starts this chain reaction.
Dirty carburetors can lead to overheating, jumpy starts etc. Here’s how to clean it
What is a Primer Bulb, and Why Is It Important?
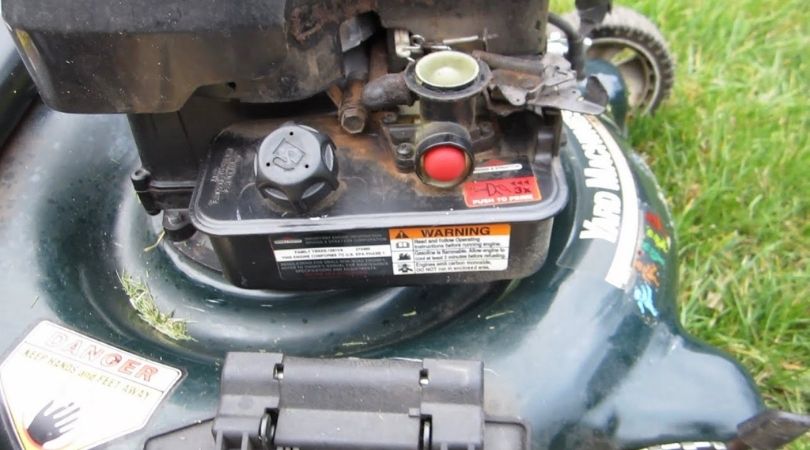
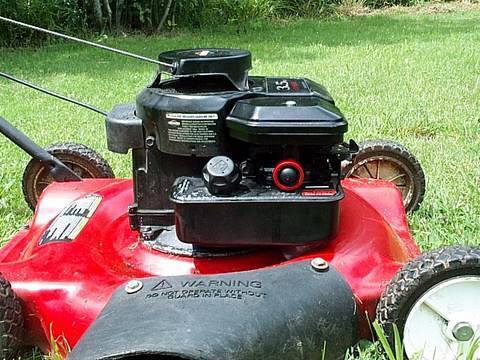
While some riding and push lawnmowers feature a choke plate to allow easy starts, others come with a primer bulb that’s made out of rubber. This primer bulb is an important component that ensures the easy starting of the mower as it sits on your carburetor, allowing the mower to start automatically the moment you press on this bulb as you would a button.
Essentially, all the mechanical machinery will need the carburetor for them to run effectively, but when it comes to the lawnmowers, these machines are sometimes too small to accommodate the carburetor, and that is where the primer bulb comes in to drive the smooth performance of the mower.
This primer bulb speeds up the starting of the mower by sending gas down to the carburetor’s bowl when needed. So, when the mower is not in use, this bowl will be empty. Note that the primer bulb not only allows the flow of fuel into the carburetor’s ball but it ensures the carburetor has access to the right amount of gas from the fuel line.
You also need to know that every time the primer bulb fails to prime, your mower’s carburetor is at a great disadvantage, and the engine will be under an extreme amount of stress in the absence of or when the primer bulb is malfunctioned. But just because the primer bulb fails to prime doesn’t mean that you cannot start the mower.
There are other priming alternatives that would work well in the absence of the primer bulb, and we’ll help you figure out how to prime the mower effectively without this bulb. Just because the primer bulb stops working or broken doesn’t mean that you must buy a new mower.
So, why is engine priming important?
You don’t have to be a mechanical specialist to know that priming the engine is one of the most important things to do for your lawnmower. But if you don’t understand exactly why this is an important process, you will be happy to know that engine priming is the process that involves spraying or the re-introduction of gasoline into your piston engine’s induction system, allowing for the engine to start.
Think of it as the process that butters up the engine.
It’s the second most important step for starting a lawnmower, especially if you haven’t used the mower for some time. You have to remember that the first step for starting any engine that’s sat dormant for too long is to check the oil and determine if it’s still in great shape, and if it isn’t, then you’d have to change the oil completely.
We recommend changing the oil every time the mower has been unused for too long.
Tell-Tale Signs of Priming Issues
How to Prime the Mower in The Absence of the Primer Bulb
Replacement of the Primer Bulb
Obviously, the method above is one of the fastest approaches you could use, but it doesn’t resolve the issues with the primer bulb. And since it’s not a great ideal to access the engine every time you need to start the engine, you have to replace that faulty primer bulb. Here how:
Primer Bulb Replacement
This primer bulb will be either connected to the carburetor directly, or it might have a rubber tubing that connects to the carburetor. For replacement, first access the housing of the primer bulb the unscrew the screws holding it in place.
Remove the fuel lines connected to your primer bulb and note its configuration (take photos).
Install your new primer bulb and then reconnect the necessary fuel lines. Check the user manual to avoid mistakes. For the fuel lines, first, find the right size of the tubing, remove the older lines, cut the new lines at the same length as the older ones, the fit in the new lines and ensure that they fit tightly.