Lawnmowers might have numerous movable parts, but the most important of these is the carburetor.
Of course, all the other parts of the mower are crucial, but carburetor has more weight being the component that injects air straight to the engine fuel, initiating the internal combustion, which will, in turn, create the pressure difference needed to start the engine to power the blades.
The carburetor is an important component for the small and the large machinery, from lawnmowers to commercial blades, which means that it must be maintained properly at all times.
One of the easy and the most important maintenance options for the carburetor is the simple and the good old approach that involves keeping the carburetor clean.
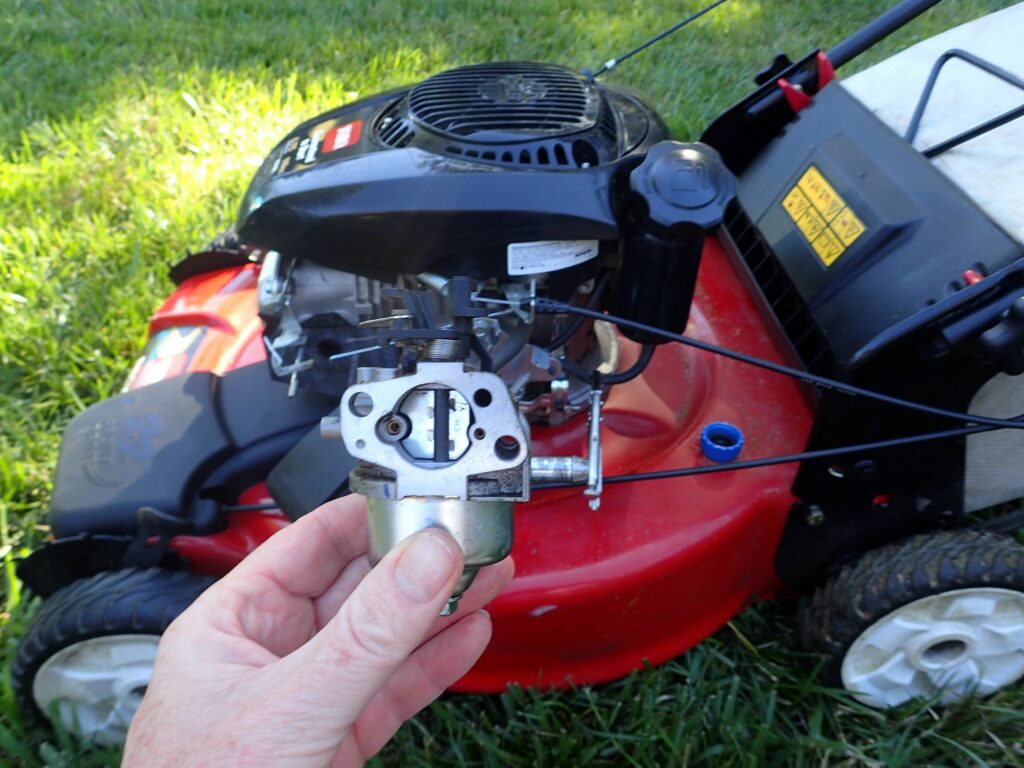
And though you have the option of removing the carburetor if it needs deep-cleaning, you don’t always need to remove your lawnmower’s carburetor to keep it clean and in perfect shape.
Table of Contents
How to clean the carburetor without removing it from the mower
But first things first, when is the cleaning of the carburetor is essential and what are the signs that tell you it’s time for cleaning? Well, you can always tell that your carburetor is acting up if you notice the following:
With the most common signs of carburetor trouble out of the way, how do you clean it well without removing it?
It’s also important for us to remind you that removing the carburetor off the mower completely is a complex technical and mechanical process, and you shouldn’t do it unless you are a mechanic who’s dealt with more carburetor issues that you can count.
To be on the safe side and to avert potential damage to the engine and the rest of the lawnmower, here are the steps you should take when cleaning the carburetor while it’s intact in the mower.
The key to keeping your mower running smoothly is by servicing it regularly.
Steps for Cleaning the Carburetor
First, you need to gather all the essential tools that you will need to clean the carburetor. These include rags, a screwdriver, an aerosol cleaner, a headlamp or flashlight, and an air-compressor gun.
1. Turn off your mower
You need to be safe around machinery, and turning off the mower is the first step to your safety. You really don’t want to be in an accident just because you started working on an important part of the mower’s engine, with the engine still running.
2. Checkup
Before cleaning, an initial checkup to assess the state of the carburetor and how you should proceed is important. So, if there are exposed wires, you can gauge the extent of the damage and the necessary repair works.
Rust on the carburetor means exposure to water, as well as the fact that the water didn’t dry up as fast as expected.
The other reason for the initial inspection is that the mower might still be under warranty, and the carburetor might be eligible for professional cleaning. But if it isn’t, you’ll have to proceed with the cleaning.
To ensure that all the parts are re-affixed as they should, and also for your safety, take photos of the carburetor before you get your hands dirty.
3. Removing and cleaning the air filter
Since the air that’s mixed with fuel in the carburetor goes in through the air filter, the first step will be the removal and cleaning of the air filter. It will have a lot of sediments and dirt, and you need a damp rag if it’s not too dirty.
But if their filter is almost unrecognizable, get your vacuum and make use of the blow function to get rid of the dirt. If you are confident in your abilities and if the air filter is removable, remove it, then clean it thoroughly on both sides the allow it to dry completely.
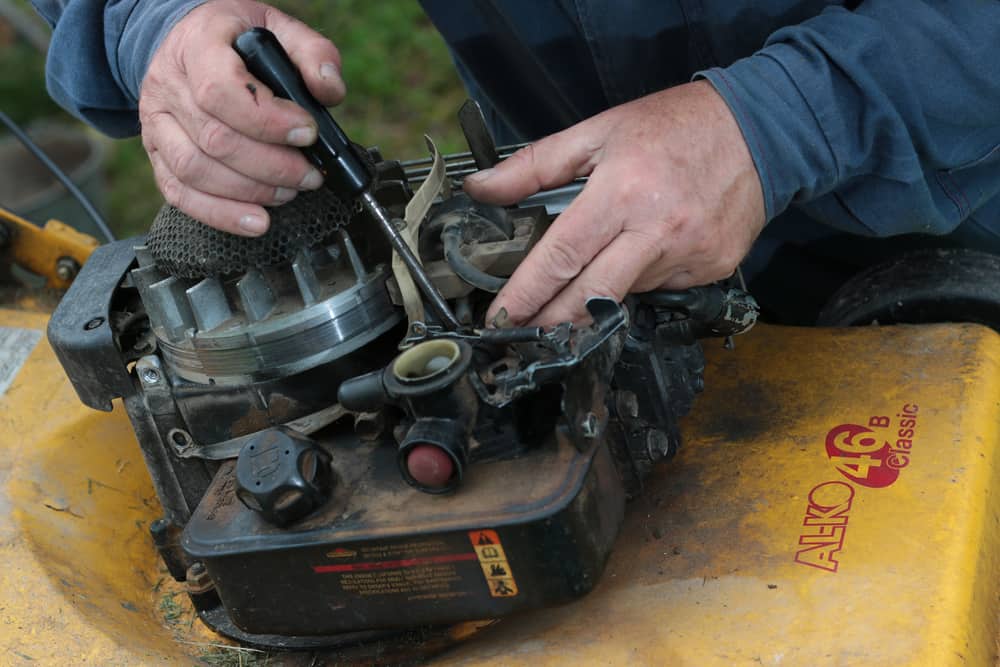
4. Check the internal areas
A flashlight or a headlamp will give you a clear view of the engine and the other internal components of the mower. While at it, check out the carburetor’s connecting wires, but be careful not to tug on the wires because they are delicate. Check if the spark plugs still look good and if they need replacement.
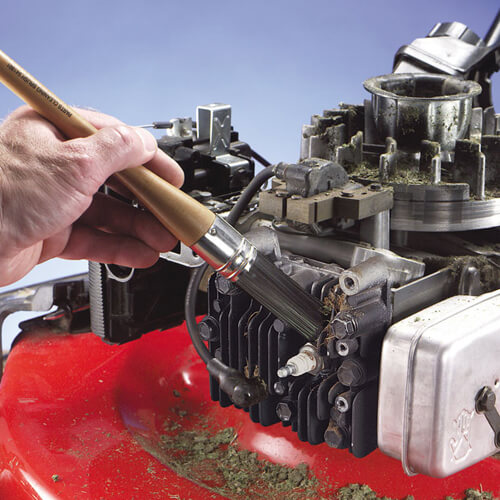
5. Air-Compressor for Dirt Removal
Use rags to remove dirt from the inside and outer parts of the carburetor. An air compressor will come in handy for cleaning the hard-to-reach areas. Also, the air compressor is preferable to your hand because it has the power to dislodge all debris from the carburetor. Avoid using the highest setting.
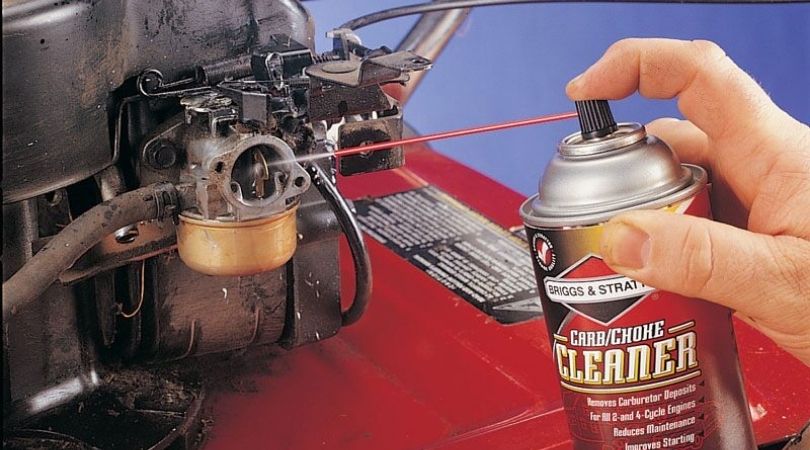
6. Spray Insides with an aerosol cleaner
The aerosol cleaner is important because it will stick to the surface of the carburetor, offering more and longer-lasting protection. For the best level of protection, you have to turn on the mower – this is the only way to be sure that the internal parts of the carburetor are clean.
With the machine on, spray the aerosol cleaner at the center of the carburetor in pulses (10-15 pulses) then leave it running for about a minute, allowing for maximum coverage. When done, turn the engine off then spray the throat of the carburetor thoroughly. Since the lower plate collects more dirt and gunk, give it a nice spray.
7. Gunk Removal
Use a damp rag (not soaking wet) to remove all the solid dirt from the mower. Keep wiping, rinsing, and squeeze drying the rag until the carburetor is completely clean. Spot check all the parts to ensure that there are no missed spots. Use your flashlight to spot-check then put back all the parts you’d removed, using the photos taken as your guide.
Once you are done, let the mower run for about 5 or 10 minutes, keeping an eye (and ear) out for issues. There should be not chugging or shaking sounds, only a smooth start.
And just like that, you have saved your mower and a good amount of money by cleaning the carburetor at home.